8.06.2014

Table / Desk / Chair

And mostly for dramatic effect...because these pictures are not new:


8.05.2014

Last but Not Least

Without further adieu, may I present:


8.04.2014

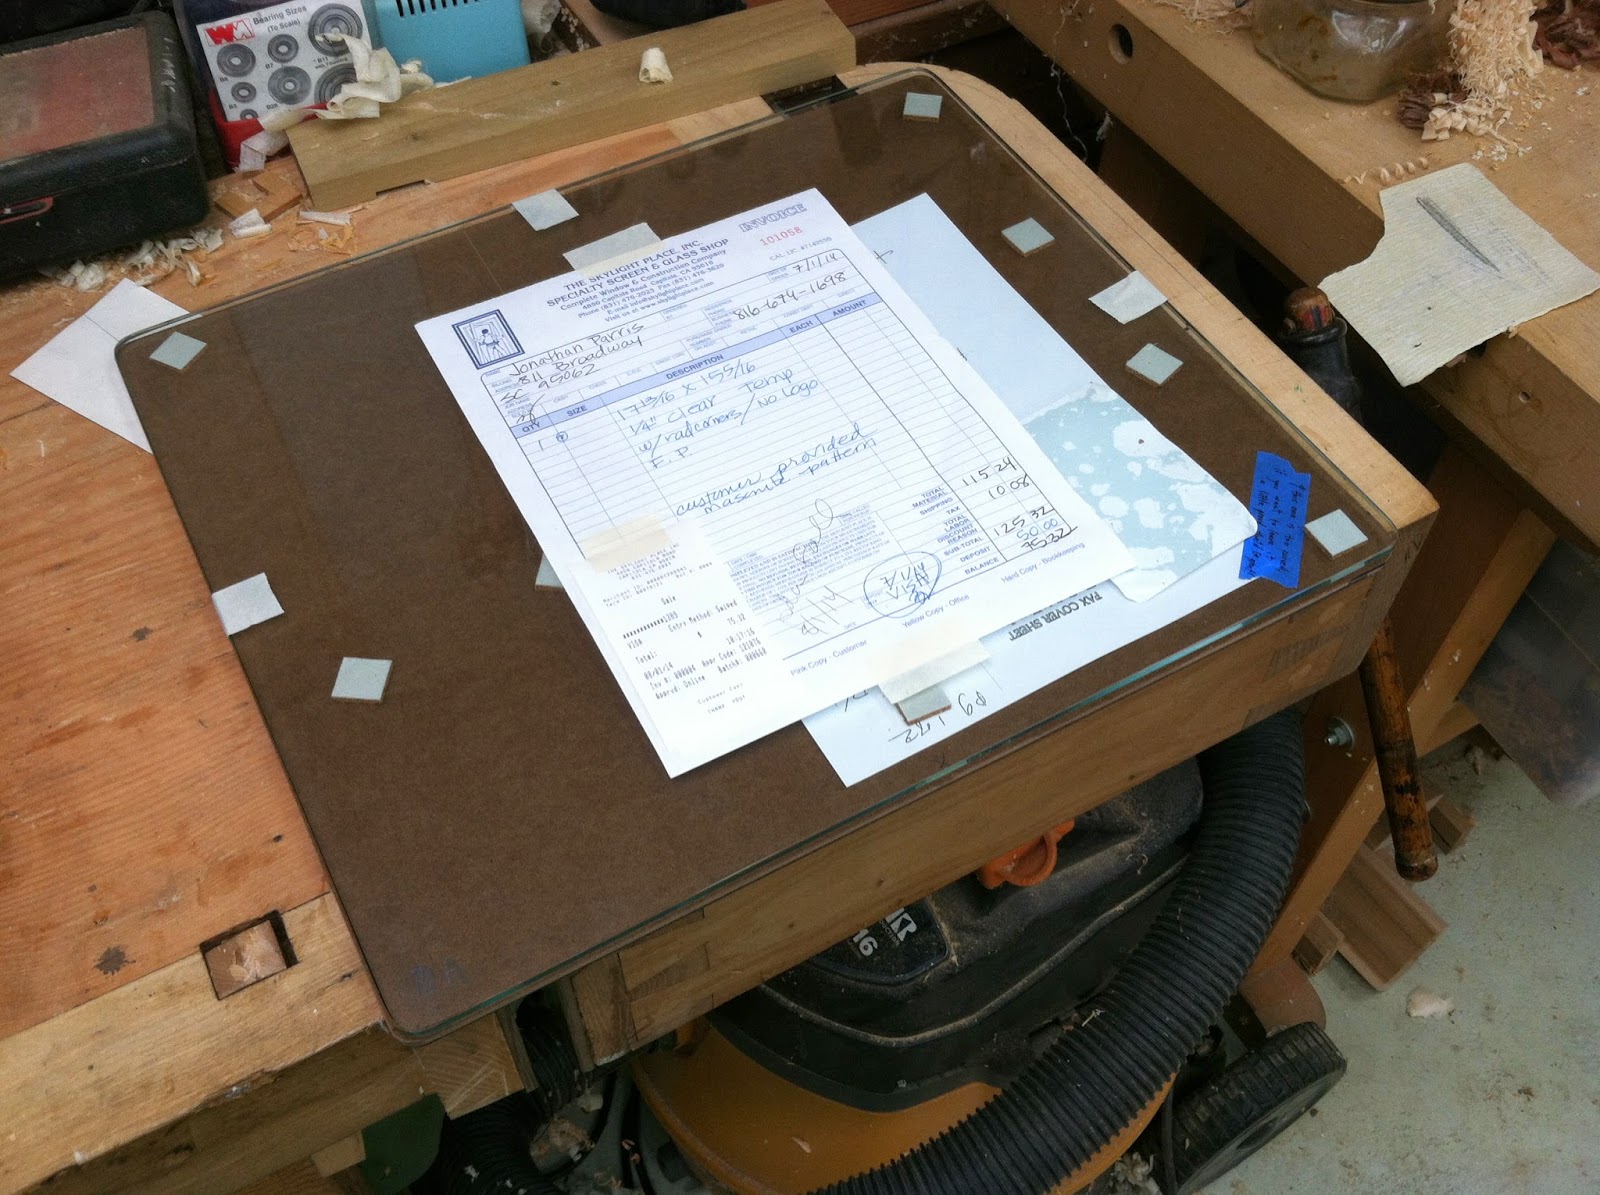
Got the Glass

So...my long, very good vacation is finally over and I am back to work!  I returned on Thursday, picked up my glass on Friday and started finishing on Saturday.  No more time to waste, I am ready to finish this project and blog. Well, I like blogging...so that might continue, but I also like or will like the feeling of completion; and of course, the celebration/imbibing/consuming of pizza that will follow.  

Anyways, I'm getting off track.  Here is the glass.  


I'll be putting on my last coast of Osmo today and plan on shooting it tomorrow.  Pictures up on Wednesday!

7.12.2014

Alas...the Glass

Yep, bad news always follows alas, and this occasion is no different.  I thought the glass top would be cut and back to me by now, but it's not.  Bums!  The template cutter at my glass shop has been backlogged for awhile and hasn't quite caught up yet.  

No problem...there's always next week, right?  Well...yes, that's true...but not for me being in Santa Cruz.  This Sunday I'm heading off on vacation...back to the Midwest and home, Kansas City, to spend time with the family.  Means there will be a delay / huge build-up of anticipation until early August.

To make-up for the failure to finish, I've included a couple of extra shots of the nearly completed table.  Super excited to see it whole and with a nice Osmo finish.  


And more future-oriented, here begins my next project...a bench or narrow coffee table from the board Alex gave me.  Will be a solid claro walnut top (such a nice board), with legs and joinery similar to this maple table.  Can't wait to put them next to one another!  That's mid to late August.  


To send myself off for a half-month:  sing it Wilbert.

7.07.2014

Lap Joint Time!

The table, or if I wanted to make it very epic...the entire blog, has come down to this last bit of joinery:  the lap joint for the front leg.  I'm excited to say that this joint is a doozy...fun to make / hard to do / the signature of this table.  The brass is exciting and different; it's a nice and surprising touch, but ultimately, it's intended to be subtle, to not overwhelm the table.  The lap joint on the other hand, with connected through tenon, makes or breaks the piece to me.  Because it is such a simple design, what is there really needs to be just right...so I'm crossing my fingers with this, I hope it comes off. 

Picking up from the teaser of the previous blog...my template for the lap joint, again using a hand router with bushing:


To make sense of the picture, this is the side of the frame held by my bench vise.  The pencil lines correspond to the width of the mortise on the underside.  I've centered the cut-out on those two lines, so the lap will be spaced evenly between the mortise.


All routed out...it's a really can't go wrong operation.  Dropping the leg into the mortise, you can see that it's both too wide and not flush with the routed face of the lap joint.  


First duty is to hand plane the front face of the leg so it is in exactly the same plane as the routed lap joint. This needs to be spot on because of the next step...where I put the legs back together.

About a month ago, before I made the tenon in the legs, I cut off the front half inch of each leg.  This was necessary because the front of the leg needed to extend above the tenon for the lap joint.  I couldn't make the latter on the table saw with the former in the way, so I bandsawed the leg in half and have finally glued it back together.  After the very simple glue up:  


See what I mean?  I just couldn't have cut that tenon easily without doing it this way.  With a little hand planing, I brought it down to the same thickness as the rest of the leg and was ready to start fitting it.

Getting close...


Now rounding the edges a little with a file...a very delicate job, there's no taking back or fixing an over-file.

Closer...


The leg outside of the joint for context...not really closer with this shot, more of a tangential picture.


Close!  Fully seated!


Many reveals in this picture...the rounded outside corner, the pillowed leg and the through mortise popping up through the frame.  So far so good I think!

Because there aren't any stretchers with this piece (hence the need for a lap joint and a through mortise for extra strength), it's a very simple matter of gluing the legs down individually.  I chose to go at it two at a time. 


After the glue up, I planed and filed the mortise flush with the rest of the frame.  The fit was good without wedges, so I didn't add them.


Seemingly lots of steps in this blog!  I've only got one more to share...regarding the glass.  Needing to make a template for the glass shop, I cut a piece of masonite to just the right size and with rounded corners.  I delivered it last week and should have it by this Tuesday (tomorrow) or Wednesday.  120 dollars later, I'll exchange this out for 1/4" thick glass and I'll be done!  


Minus sanding and finishing...but that's easy!  

7.02.2014

Gluing...Then Complicated Stuff

A little hitch in my get-along this week...been slow to blog.  I blame it on coding and my trip up north to Philo and Ukiah.  The former for a party and wine-tasting, the latter to visit a gallery and load a lot of wood, rather jankily, into the back of my friend's Tundra.  See what I mean...


As gift for the sorting/moving/loading of above wood in 95 degree Ukiah heat...I received a half bottle of orange Gatorade and this 5 foot tall board of Claro Walnut!  Yep...that's 20 dollar a board foot Claro, cut and milled locally in Ukiah and air dried for over 15 years.  Thank you Alex...talk about a worthwhile trip!


These were very pleasant distractions from computer time, but they weren't necessarily the primary cause of delay.  That goes to the feeling of daunt (never used that word that way...) over the complexity of explanation required for this next part.  The making was somewhat difficult and long to figure out...half a day of jig preparation...which means that I might have to type way too much to arrive at a meeting of minds between us.  But...you know what they say about fear...so let's just give it a try.  

First though, a glue up:


Lots of clamps!  And done.  A particularly easy glue up...I think I've finally conquered my glue up related anxiety.  Thank you Dune.

A few hours later, I was ready to move onto the next stage of work...the 'complicated stuff'.  To start explaining, let me quote an old blog post, just from a few weeks ago.  Remember this picture?  


And these paragraphs?

"You'll notice the mortise is not in the center of the rabbet at the moment.  That is intentional.  I don't know if I can explain it very well...but I'll try (I'll pick it up in another post if I fail).  

Eventually, I am going to round or radius all the corners of this piece:  glass, inner-rabbets and exteriors.  If I ran the rabbet to it's intended width on the router table, the corners would meet at a 90 degree angle and I wouldn't have any leftover material to round.  After I glue up the frame, I'll take away more width in the straight away while leaving wood in the corners to cut with a semi-circular gouge.  Make sense?  Probably not."

Ok...so I now have to make sense of that!  See what I mean about daunting?  

Let me start explaining by saying...I need to make the rabbet bigger/increase the width of the step-down, which will allow the glass to be seated more fully within the frame.  The only way I can do that now, given that it's glued up, is to use a handheld router.  And the only way I can use a handheld router is in combination with a bushing (the piece of round brass around the bit) and a straight piece of plywood serving as a reference for the bushing to run against.  Undoubtedly not making sense so far.  Let's try pictures.  

1. Bushing.


2. Straight white plywood, on a parallel line with the rabbet of the table frame.


3. Bushing referencing off edge of plywood, which is shallow of frame edge, leads to a cut and expansion of the width of rabbet.


With the white plywood held in place, I simply rotate the frame, removing the same amount of width from each side.  Definitely makes sense right?  Nodding heads from woodworkers...for the rest, absolutely not.  

One potential scare I had during this process was running the router too far along the frame.  Given that there is a mitered corner, it could have been very easy for me to push too far and blow out the corner with the bit.  Hence, the 'stop' you can see in pencil on the white board.  At that point, the bit is very close to the corner and I can't take off anymore.  Plan is just to leave it at the moment and do the final curve with hand tools.

I could potentially try to explain the set up a little more, I'm leaving out some details, but at some point...explanation is both a chore (for me) and a bore (to you), so perhaps, we can just leave a little mystery around the process.  If you just can't stand that, write me and I'll write you back a book.  But for now, let's just stick with the results from the hand router, no ambiguity over this:  

4.  Expanding rabbet after the first pass with the router.


5. Rabbeting complete with the mortise in the middle...sounds like a kid's game.  The corner remains messy from the router, where I stopped the cut.  


6.  Inner curve being cut out by gouge.


7.  Ain't that sweet!


Yeehah!  Complicated work complete!  And looking mighty fine if I can say so...and I can cause I'm the author.  

Think that's enough blogging for one day.  Up next is another round of complicated blogging...a lap joint.  Want a teaser?


Not a lot to glean there I know, but I'll be using a router and bushing again with this plywood template to make a mortise (of sorts) on the side face of the frame...see if you can reason out what kind of cut this will make!  Or just wait...answer to come in a few days.

6.21.2014

Brass

So...did I ever explicitly mention that this piece included brass?  I know it's been evident in my drawings, but that's a detail that could easily be missed.  Not exactly knowing the answer and uninterested in reading through my blog posts, I'm just going to say:  there is brass in this piece!  A little touch of shiny elegance.  I'll be including said alloy by inlaying a thin square rod into the interior of the frame.  Interior you ask?  Isn't that kind of like putting a light under a bowl?  Well, yes it is...and it sounds like a good idea to me!  Basically, I want to keep it subtle...to have it be a surprise for the user when light and angle of view line up just right for a reflection.  

I ordered a 3/16" x 3/16" 6' foot long piece of brass from McMaster-Carr...online for all your ferrous metal and hard plastic needs...and started to work.


There's the brass and here's the groove Ill be making.  *First finger shot of the blog...8 months in I actually think that's pretty good.


The groove for the mitered-mortise members (mmm...tasty) are easy.  I'm able to run the piece all the way through the slot cutter without worry.  But for the m-tenon-m, I can't do that because the cut would go through the tenon, exposing it on the outside of the frame.  For these two pieces, I have to start and stop the cut within the wood, see below.  


It's really not the big of a challenge.  Here they are!


And here is the brass...fit snugly within it's groove.


After cutting the brass to length with a hacksaw, it's home and looking pretty good...even though it's a little thicker than it needs to be.  For the moment however, that's perfect as I need it to be higher than the maple for me to epoxy and clamp it in place.  


After the epoxy cured, I could flush it up with the maple.  I started by filing.  It worked pretty well, but slowly.  Noah recommended a scraper, which I thought was kind of crazy, but boy was I wrong...brass is a SOFT metal.  


Flaky and shiny brass!


Pretty bright there...I guess we will see soon if it's possible for this to be subtle regardless of the location.  Stay with me for a few more posts and this table will be done.  

6.16.2014

Boring & Rabbets

Not that this has anything to do with the blog, but...USA!  USA!  USA!  Terrible looking play but a victory is still a victory...and worth skipping the second half of my day at the shop.

But what I will not skip is my responsibility to this blog and the post I promised to deliver today.  So here we go...boring time!  With the mitering done, I'm ready to move onto more mortise and tenons.  This time it's for the legs...and four legs means four mortises.  Pretty simple, no?


Voila!  Four regular, stopped mortises in five minutes.  By 'stopped' I mean:  the mortise does not run all the way through the wood.  But if you remember this drawing...and some very specific details about it, you'd know that this is actually supposed to be a through mortise:


Note the Dr. Mario shaped pill at the top right (or this, from another old video game)...in the sketch, it represents the revealed and wedged tenon of the leg, centered within a rabbet.  Said rabbet is serving as a lip to hold the glass table top, and as I cut it to my desired width, I'll eventually expose the stopped mortise, thereby creating a through-joint.  Nifty!  Using the router table, I'm removing the top-inner portion of each mitered member.


There it is!  Fishburne style.


And completed.  But you'll notice the mortise is not in the center of the rabbet at the moment.  That is intentional.  I don't know if I can explain it very well...but I'll try (I'll pick it up in another post if I fail).  

Eventually, I am going to round or radius all the corners of this piece:  glass, inner-rabbets and exteriors.  If I ran the rabbet to it's intended width on the router table, the corners would meet at a 90 degree angle and I wouldn't have any leftover material to round.  After I glue up the frame, I'll take away more width in the straight away while leaving wood in the corners to cut with a semi-circular gouge.  Make sense?  Probably not.  Let's move on...here is one corner brought together.  Kind of hard to see the rabbet in this shot, but it's there.


And that's the end of this post!  Lacking, you avid blog readers might remember, the promised picture of a completely joined frame.  I'm not being withholding on purpose, I just forgot to take that shot.  Instead, I'm going to include some pictures from my week.  Remember how awesome the last selection of 'Jon's Week in Pictures' was?  Yeah...I included a picture of my hand holding baking powder!  I don't know if I can top that, but here's my attempt:


On a hike, breakfast and my house's white board after a plumber fixed our toilet.